When a catastrophic flood inundated the archives in Florence in 1966, European conservators faced an enormous challenge. Traditional Western materials were failing when in contact with extremely waterlogged incunabula and documents. The breakthrough came with the adoption of a material from the other side of the world. – traditional Japanese paper. Thanks to its unprecedented wet strength, it has made it possible to save hundreds of thousands of invaluable cards.
Today, Japanese paper is an absolute cornerstone in workshops around the world. This is not a matter of historical sentiment, but of hard physicochemical parameters. Properly selected Japanese tissue paper can mend a torn page without obscuring the text, and thicker sheets can reconstruct a missing part of a cover. In this article, you will learn what causes the phenomenon of Japanese paper, how to choose the right weight, and how to correctly apply this material when repairing books and documents.
The secret lies in the raw materials and a specific sheet-forming process. Unlike Western papers based on short wood pulp, Japanese sheets are made from the long bast fibres of particular plant species. These are what give the material its unprecedented resistance to tearing.
In professional conservation, three main types of fibres are used, each with a different application:
| Type of fibre | Microscopic characteristics | Visual and tactile qualities | Main application |
| Kozo Paper Mulberry | Extremely long (10–15 mm). Highest structural strength. | Extremely transparent when glue is applied. | Consolidation of tears through the text, hinging, spine reinforcements. |
| Mitsumata | Shorter fibres (approx. 3 mm). Structurally finer. | Warm, matte shade (tones of yellow and pink), high opacity. | Filling in losses on naturally yellowed, old antiquarian book pages. |
| Gampi | Average length (approx. 3 mm). Very compact and dense material. | Highly smooth material with a distinct, silky sheen. | Repairs to gleaming fixtures, imitation animal parchment (vellum). |
The fibre length (up to 15 mm compared to 1–3 mm in western paper) ensures that even the thinnest, mist-like tissue paper retains its integrity when moistened with aqueous glue solutions.
The golden rule of bookbinding and conservation states: The repair material introduced must be slightly weaker than the original object. In the event of unforeseen stresses (e.g. during a sudden page turn), the repair patch should tear, protecting the historical document. This is why the selection of the appropriate paper weight is so important.
Japanese papers and tissues is usually divided into three weight categories:
Using the best Japanese paper is pointless if you combine it with the wrong adhesive. Ordinary office adhesive tapes are the greatest enemy of paper. Their synthetic glues penetrate the cellulose structure over time, turn drastically yellow, and become impossible to remove without the use of toxic organic solvents.
Instead of these, professionals use a starch paste (most commonly from wheat starch). This is a chemically inert, aqueous binder that has a strong affinity for cellulose and does not degrade in a harmful way. To remove a patch after years, it is enough to gently moisten it. To prepare such a binder, you will need Specialist adhesives Top quality (pure starch, methylcellulose), free from biological contamination.
If the situation requires a faster intervention in a library or archive, an alternative is certified conservation tape, such as Neschen Filmoplast. Built on a foundation of acid-free paper and safe acrylic adhesives, they offer a compromise between speed of work and collection preservation.
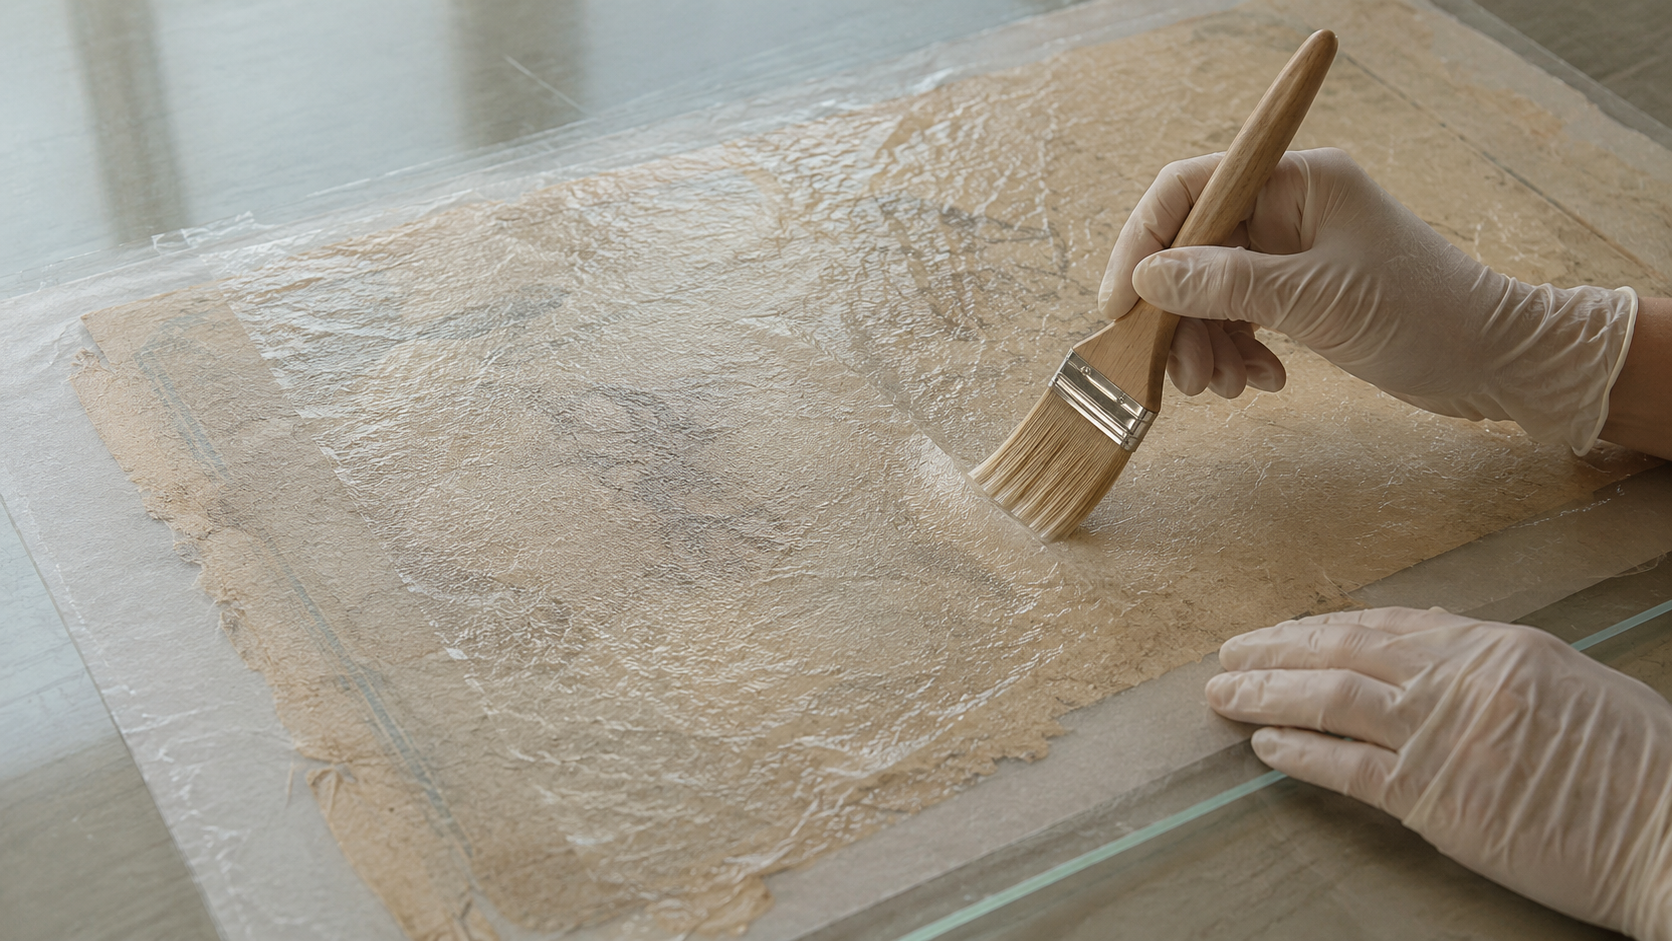
The key to an invisible and durable repair using Japanese paper is the correct preparation of the patch. Never cut Japanese paper with scissors or a scalpel. Sharp tools crush and unnaturally sever long fibres, creating a hard edge which will show on the document after gluing and cause dangerous stress.
A highly precise „water brush” method is used here, which results in so-called feathered edges. These fibres blend seamlessly with the document being repaired.
Here's how to conduct this process:
Even the best materials require conscious use. Several myths have grown around East Asian papers, which can pose a threat to historical artefacts.