The brittle, crumbly edges of 19th-century books, the brown stains on family letters, and disintegrating commemorative newspapers are sights almost every collector, archivist, or genealogist faces. In conservation circles, this phenomenon is referred to as „slow burning fires.” Historic paper slowly consumes itself due to chemical degradation, and the only way to halt this process is artificial neutralisation of the acidic environment.
While the preservation of the most valuable national archives is a task for specialised institutions, it is also possible to halt the deterioration of private collections outside of a laboratory setting. However, this requires absolute rigour and an understanding of chemical processes. In this article, you will learn how to properly and safely carry out a deacidification treatment of paper at home, which preparations to use, and when such actions should be strictly avoided.
The „acid paper” problem began in the mid-19th century. With the growing demand for newspapers and books, precious cotton and linen rags were replaced in paper mills by cheap wood pulp and cellulose pulp. This was a technological breakthrough that proved to be a conservation disaster.
The wood fibres contained approximately 26% of lignin – compound that undergoes photo-oxidation under the influence of light and oxygen, causing characteristic darkening and browning of sheets. However, it is not lignin that is the main culprit for brittleness. The real threat turned out to be the process of sizing paper in the mass back then, using rosin-alum glue.
Aluminium sulphate, added during production, reacts with the natural moisture stored within the paper. Hydrolysis releases sulphuric acid, which ruthlessly attacks the glycosidic bonds in the cellulose chains. This depolymerisation process leads to a drastic decrease in the mechanical strength of the sheet. As statistics from the Institute of Library Collections Conservation show, some Polish papers from the turn of the 19th and 20th centuries fall apart after just 1–2 double folds.
What is more, in the past, machine-made paper often left the factory with a highly acidic pH of between 4.0 and 5.0. To prevent this, so-called archival paper is now produced (in accordance with the ISO 9706 standard). This type of paper, made from bleached cellulose, contains an alkaline buffer (at least 3% of calcium carbonate) and has an aqueous extract with a pH in the range of 7.5–10.0. Older documents lack this buffer, which is why they absorb sulphur dioxide from polluted air, accelerating autocatalytic degradation.
Before undertaking any chemical treatments, you must ascertain the actual state of acidity of the object. Blindly introducing alkalis into the paper structure can be catastrophic for the dye carriers.
In professional studios, contact electrodes are used, but in home conditions, indicator test pens work perfectly well. The active substance in such markers is most often chlorophenol red. – a dye whose visual transition range is from pH 5.2 to 6.8.
Important conservation warning: The marking pen leaves a permanent mark on cellulose fibres. Never carry out the test within text, graphics or on the face of the document. Choose the least visible area, such as the edge of the margin.
The deacidification treatment aims to raise the pH of damaged paper (ideally to a safe range of 8.0 – 8.5) and to create an alkaline reserve within its structure, which will neutralise acids in the future.
Historically, especially among hobbyists in the latter half of the 20th century, „DIY” water-based methods were popular. Following recipes developed by chemists (including Dr. Richard Smith), solutions of magnesium bicarbonate were created using highly carbonated water and pharmaceutical-grade magnesium hydroxide (milk of magnesia). Although this method was inexpensive, it is now strongly discouraged for home use for one key reason: the water.
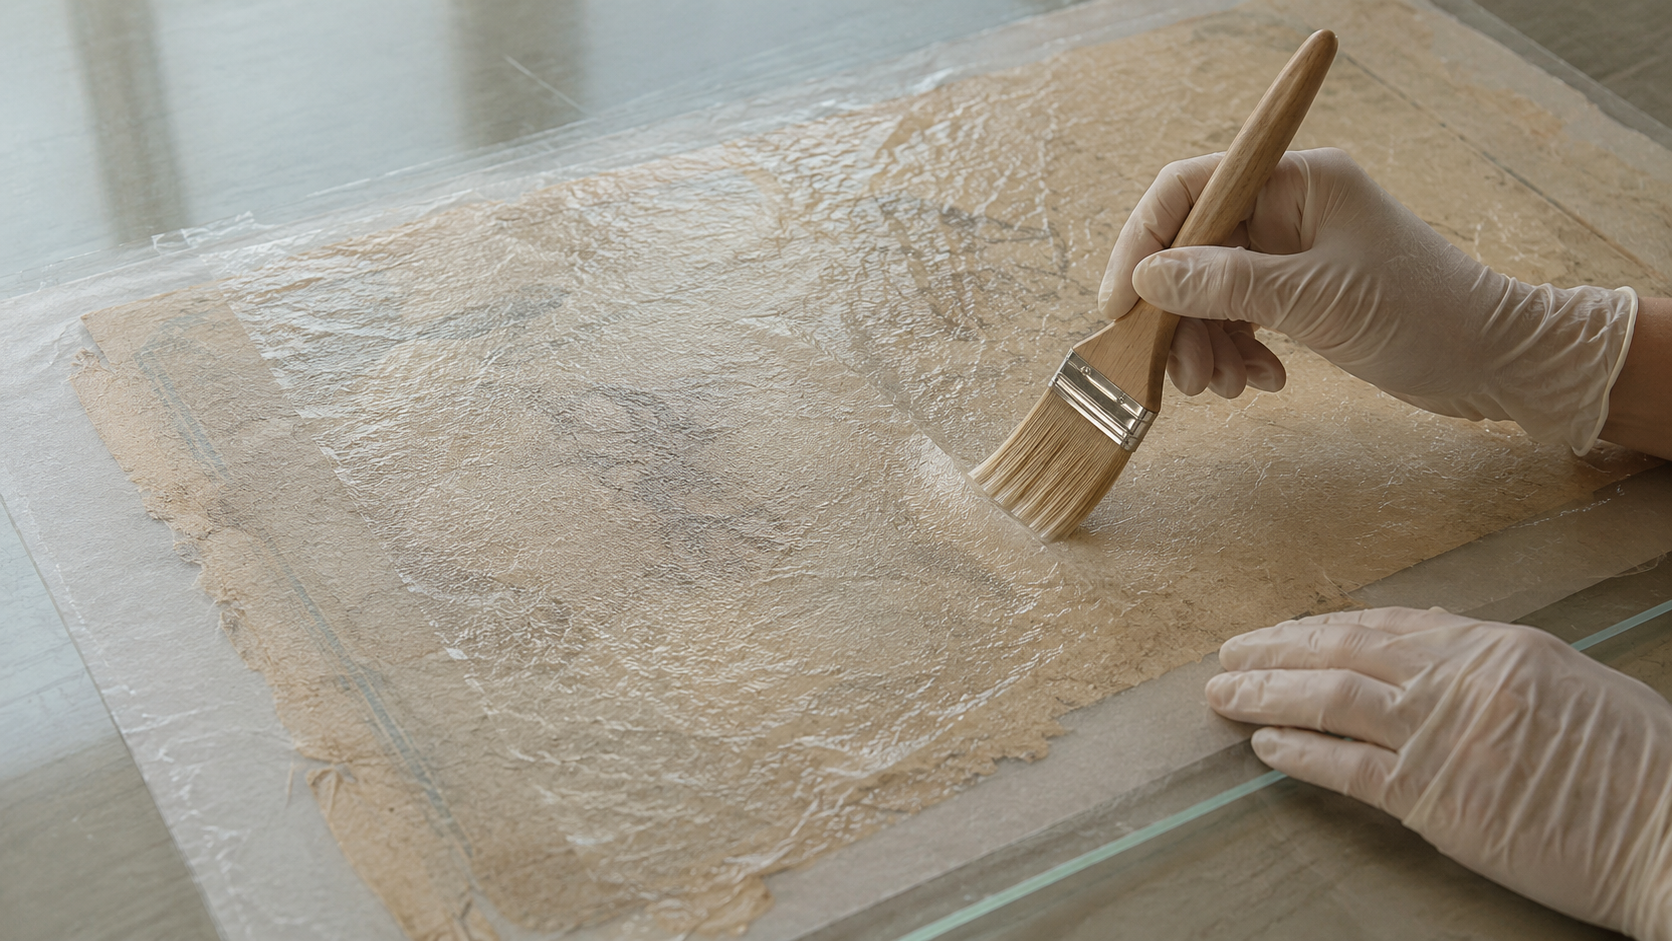
When paper made from wood pulp is immersed in an aquatic environment, it loses the bonds crucial for its cohesion. It becomes soft to the touch, like a wet tissue. Lacking professional polyester mesh cradles, amateurs have repeatedly torn wet, valuable documents under their own weight.
For this reason, modern conservation focuses on safer solutions. For individual applications, CartaPro experts recommend anhydrous preparations based on a dispersion of magnesium oxide in a volatile carrier fluid. These types of systems (like the highly regarded Bookkeeper on the market) use a carrier gas from the perfluoroalkane group, which evaporates instantly, leaving microcrystalline magnesium oxide in the paper. This, in turn, reacts with the natural moisture in the air, building up targeted protection without causing the cellulose fibres to swell.
Home deacidification treads a fine line between saving the physical medium and risking the destruction of the information itself. There is one situation where unilaterally introducing an alkaline environment to paper will end in tragedy.
Speaking of documents, letters and manuscripts written from the Middle Ages up to the beginning of the 20th century using iron gall ink.
This ink is based on iron salts. Creating an alkaline environment in the paper (pH above 8.5) using any spray causes instantaneous, explosive oxidation of iron ions. This process releases reactive hydroxyl radicals, which literally burn through the cellulose (the phenomenon known as ink burn-through).
In professional institutions, such manuscripts are subjected to complex chelation with calcium phytate, a procedure absolutely unavailable in a home workshop. If you suspect that your old letter was written with brown, paper-eating ink – refrain from deacidification and consult a professional conservator.
What will be needed? List of materials
Before you begin, you must properly equip your workstation. The use of neutralising substances requires precision and dedicated products, which you can find, amongst other places, by browsing our offer. acid neutralising materials.
Prepare:
If your document qualifies for treatment, follow the application rigour below, developed based on research from, amongst others, the US Library of Congress.
Step 1: Workspace organisation and Health & Safety: Put on a filter mask and gloves. Depickling with spray releases fine magnesium dust which can irritate the respiratory tract. Ensure excellent air circulation in the room (preferably an extractor fan or an open window).
Step 2: Acidity test: On the least important margin of the document, make a microscopic dot with the test pen. If the indicator immediately turns yellow (pH below 5.2), the document can be de-acidified.
Step 3: Media stability test: At the edge of the writing (ink, print, stamp), gently touch a cotton swab moistened with a minimal amount of isopropyl alcohol and the carrier fluid from the aerosol. If the dye begins to „bleed” or smudge, stop. This means that the ink used in your object is sensitive to the solvents used.
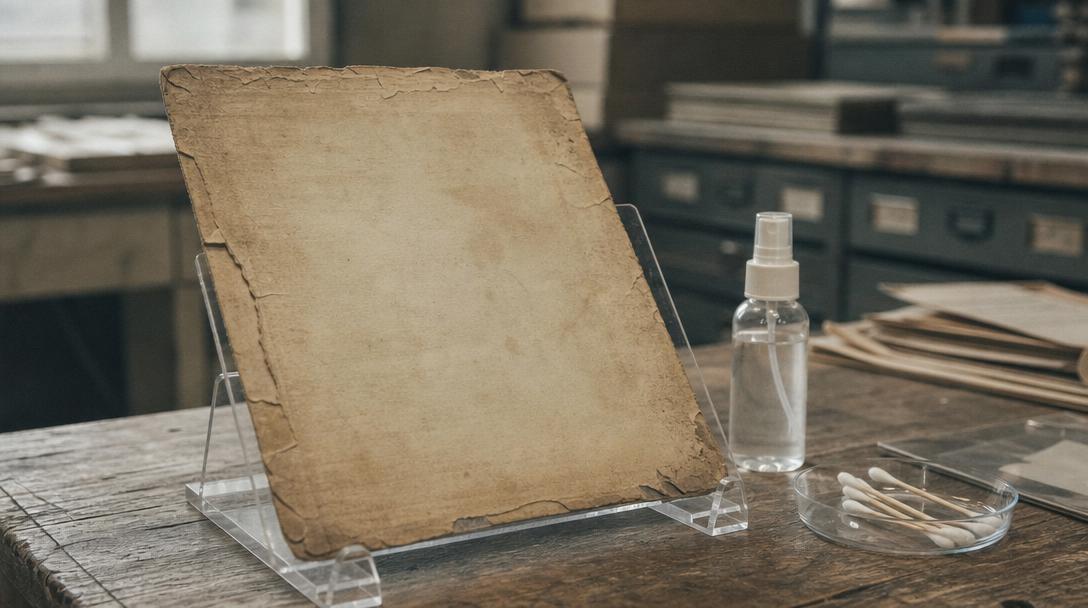
Step 4: Positioning and aerosol preparation: Place the document on a stiff backing at an angle, almost vertically. Never spray with the can at a steep angle or upside down. This risks blocking the nozzle or dripping of liquefied carrier, which will leave white spots of magnesium powder on the document.
Step 5: Cross-application: Hold the spray approximately 15–20 centimetres away from the sheet. Begin spraying outside The document, and then evenly and smoothly sweeping the surface of the paper with horizontal strokes, at a speed of approximately 5 cm per second. Each subsequent spray strip should gently overlap the edge of the previous one. Tests confirm that only such precise distribution allows the pH to be raised to the desired, averaged level (even to values of 10.45 locally), avoiding dangerous acidification zones.
Step 6: Securing and seasoning The buoyant gas (e.g. perfluoroheptane) will evaporate within tens of seconds. However, this is not the end of the process. The reaction of crystalline magnesium oxide with atmospheric moisture, forming a protective hydroxide, takes from 1 to even 28 days. Place the deposited sheet in a dry, temperature-stable location, free from UV radiation.
The most common mistaken belief among people saving family heirlooms is the conviction that deacidification will revitalise an old book and restore its flexibility. Unfortunately, this process does not heal the physical damage to the cellulose. The chain breaks within the polymer are irreversible.
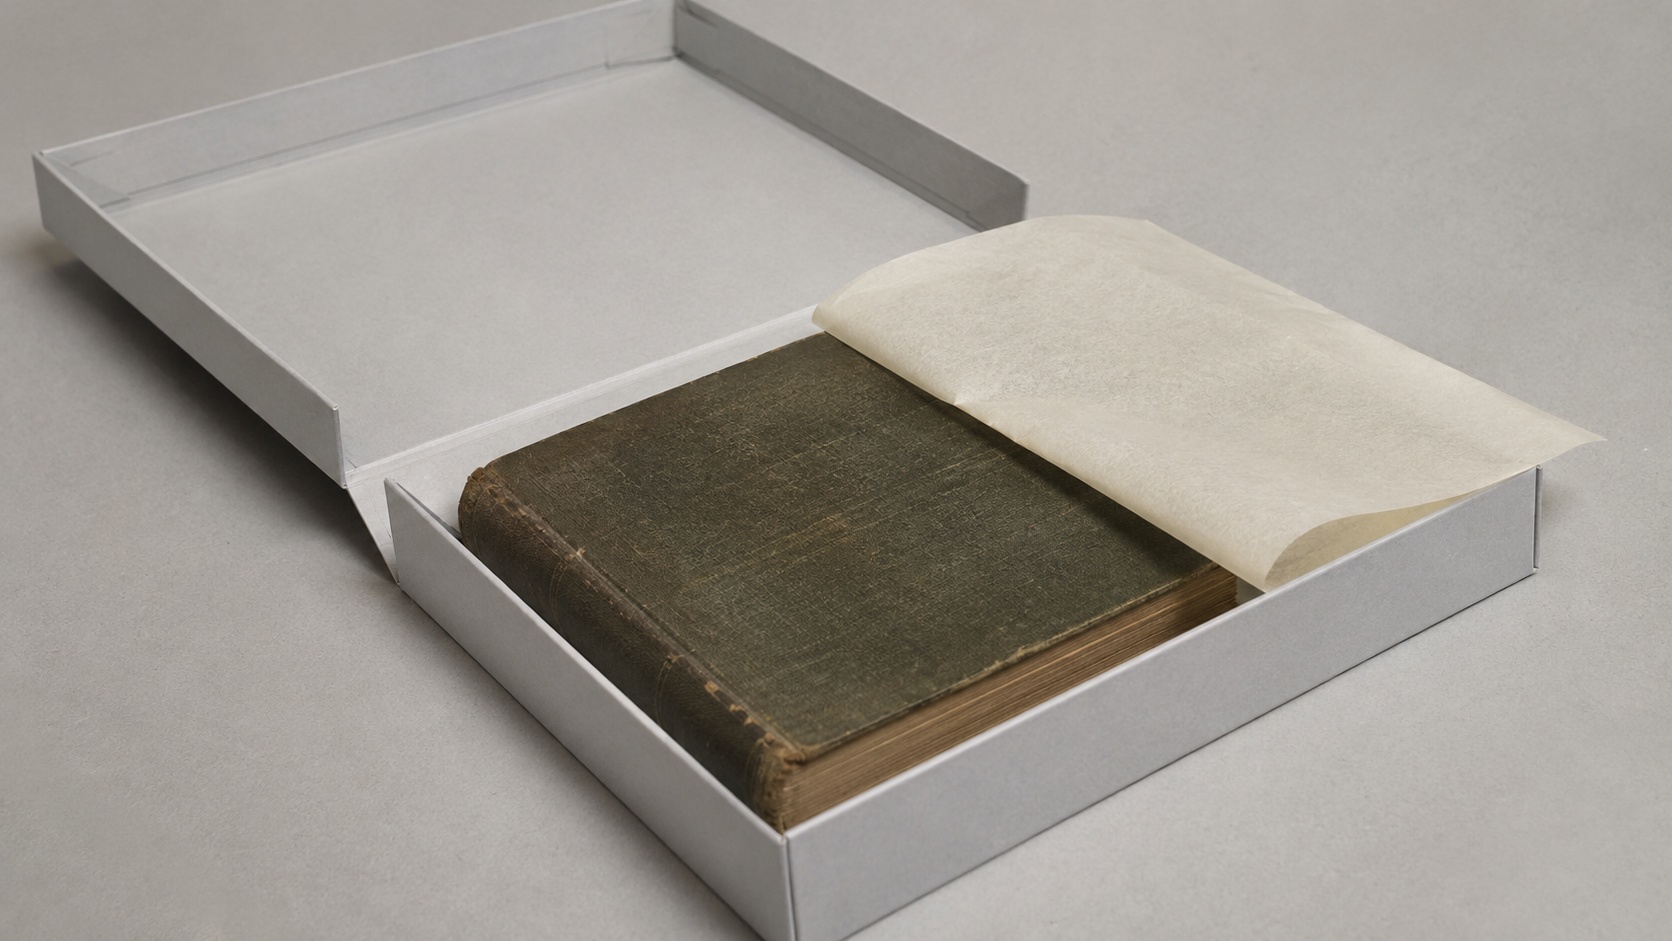
Dewatering only (and indeed) „freezes” the chemical ageing process. A sheet that crumbled in your fingers before the treatment will still require care, reinforcement with Japanese tissue, or safe storage using specialised materials. acid-free papers and boards. However, it will survive for decades longer, avoiding complete disintegration into dust.